- Features by Edition
- Latest Features
- Licensing/Activation
- Installation
- Getting Started
- Data Sources
- Deployment/Publishing
- Server Topics
- Integration Topics
- Scaling/Performance
- Reference
- Guide to Views
- Keyboard Shortcuts
- Dates & Times
- Manage Fields
- Tokenised Data
- Using Formulae
- Scripting
- Mapping & GIS
- Advertising Options
- Legacy User Guide
- Translation Guide
- Specifications
- Video Tutorials and Reference
- Featured Videos
- Demos and screenshots
- Online Error Report
- Support
- Legal-Small Print
- Why Omniscope?
|
|
|
|||||
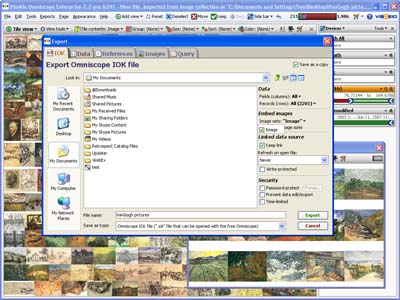
Open Image CollectionFile > Open Image CollectionThis allows you to use Omniscope to explore and manage your photo collection. Using File > Open image collection, Omniscope will ask you for a starting folder, and will scan all images within the folder, representing each as a record within the resulting data file. You will see a Tile view showing your images in a grid, a Table view showing the data, and a series of filters. The data and filters will include information about each file, including image tags such as width, height and GPS location (lat/lon, if available). More informationOpening image collections is very similar to opening folders of files. See Open Folder of Files for more information about advanced options, tagged files and renaming / applying edited tags to files. The only differences between the two are:
Additional advanced options Assume files without extensions are images: By default, only files with a supported image extension (such as ".jpg") are included. If this is ticked, Omniscope will also assume files without an extension are images also. Used for specific image servers which don't provide filename extensions. All image files on Windows usually have an extension.
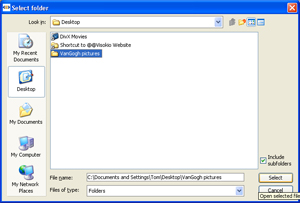
Warning: The following text applies to earlier versions of Omniscope and is out of date. Import images into your file, or refer to an online image setOmniscope can be used as a photo browser, allowing you to explore and manage large folders of images, and to send selected, annotated collections to others in compact, searchable .IOK files with supplementary information on the photos, their locations etc. Open and link to folderFile > Open Image Collection opens a new Omniscope file in folder browser mode that allows you to point at any folder (with or without sub-folders) containing image files in .JPG, .GIF. .BMP, or .PNG format. Browse to the folder, select it and click Select.
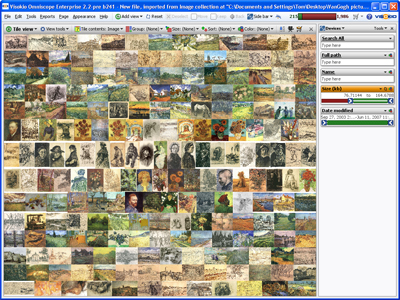
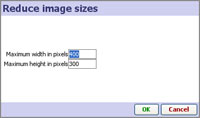
Browse Photos & Save FileWait a few moments for Omniscope to import the pictures. The Tile View and left Side Bar will appear, with the images scaled down to display in the Tile View. The Side Bar filter/query devices allow you to Search All for a keyword, to filter the size of the files (and hence the quality/size of the picture), and to filter the date of the pictures. The Tile View initially shows all the pictures found in the folder chosen. As you filter, some pictures will disappear, and the remaining pictures will get bigger.
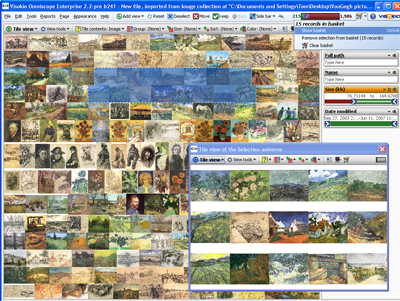
At this point, you might want to save a new .IOK file linked to this image folder. This will capture any settings you configure to the file. You do not have to embed the pictures in the file at this time. In future, you can use File > import into current file > Refresh from source to update the file to include any new photos added to the folder. Selecting collectionsYou can Select and Move pictures you want to exclude from further consideration, thereby enlarging the remaining pictures. When you see a picture you would like to add to a collection file (such as your 'holiday highlights'), click the picture to get the Details pop-window showing a larger view, then click Add to basket to save that picture in the BASKET universe. Carry on filtering and exploring your photos, adding more pictures selected for the collection file to the Basket.
|