There are three ways of adding your own text to your presentation:
 | To add a Title and Annotation to the Tab, the user can select the option “Style” from the main toolbar and then select “Title” or Annotation Option. To see how to edit Titles & Annotations visite T [1]ab-titles-annotations [1] . |
Displaying View Header & Footers
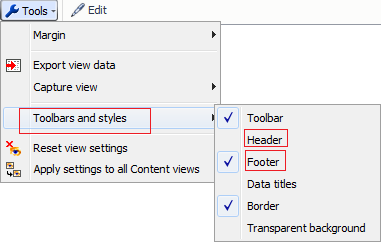
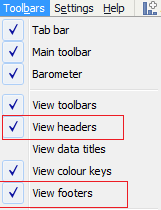
| The user can Add and Display a header & Footer, by selecting the option Tools>Toolbars styles>Header or Footer.
Those options are also available from the main menu under Toolbars. |
Footers are edited and styled using the Text Editor Menu bar [2]
Any number of Content Views can be added to each tab and sized the compliment the data-driven views. The Content View enables you to enter free text, incorporating dynamic formulae and links, images and other content to help make your report tabs come alive.
Free text entered in the Content View is edited and styled using the Text Editor Menu bar [2]
More on using the Content View [3]
You can import PowerPoint slides and create new Text Tabs from Tab > New.
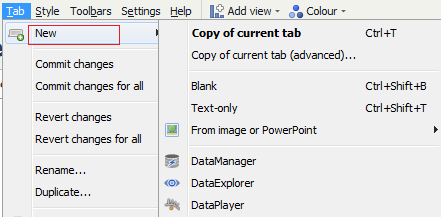
Images and PowerPoint slides arre not editable in Omniscope and are imported as is.
Free text entered directly int a Text Tab is edited and styled using the Text Editor Menu bar [2]
-----------------------------------------------------
Edit Annotation [4]
Formula [6]
Aggregate [7]
Subset: Filtered data [8]Aggregate [7]
Subset: Filtered data [8]
Like presentation packages, ach tab of an Omniscope file can be written as a presentation slidde, with top titles and bottom annotations.
Create a Title
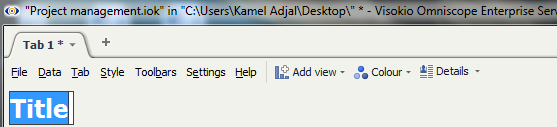 | To create a Title to the Tab, select “Style” from the main toolbar and then select “Title” A temporary name“Title” will automatically appear highlighted at the top of the screen. Type in the title you would like to give to your project and hit Enter. |
Back to the Top [9]
 | Omniscope gives the user the option to change : Style,colour, size and alignment of the font.. All these options are available under Title style Back to the Top [9] |
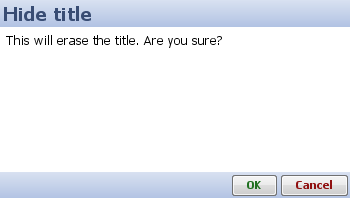 | The user can delete the title at any time. Select Style in the main toolbar and unselect the option “Title”. A pop up will appear with a warning message:
This will erase the title. Are you sure? - Press Ok to erase the title from your project.
-Press Cancel to keep the title in your project. Back to the Top [9] |
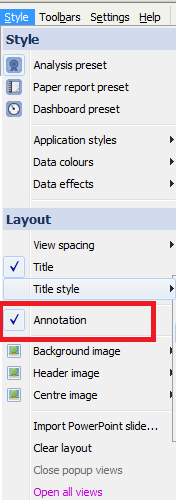 | Select “Style” from the main toolbar and select the Annotation option. A temporary name “Annotation” will automatically appear highlighted at the bottom of the screen. Type in the annotation notes you would like to add to your project and hit Enter. Back to the Top [9] |
To see how to edit /change the font/ insert image .... to the Edit box please click on this link: Text Editor [10].
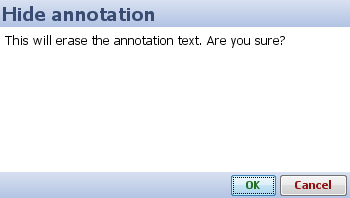 | This will erase the Annotation.Are you sure? - Press Ok to erase the title from your project. - Press Cancel to keep the title in your project. Back to the Top [9] |
Throughout Omniscope, wherever you have the option to add your own free-form text to the disply, the Text Editor Menu bar will display.
Click on Edit to edit the annotation.
![]()
Edit HTML Source

Remove formatting
Annotation allows the user to remove text formatting by selecting the text edited, and clicking ![]() button
button
This will turn the text back to the default setting.
The user is able to change the font of the text from Bold to Italic by using the button ![]() or
or ![]() .
.
Omniscope also allows the user to use key short cuts to turn the text to Bold (CRTL+B) or italic(CRTL+I).
The user can underline text by highlighting the text and selecting the button![]() or pressing (CRTL+U)
or pressing (CRTL+U)
The user can Strike through a text by highlighting the desired text selecting the button![]() or pressing (CRTL+G)
or pressing (CRTL+G)
The user can change the Font of the text by highlighting the desired text and clicking on ![]() .
.
The user can change the Font of the text by highlighting the desired text and clicking on ![]() .
.
The user can change the Text colour by highlighting the desired text and clicking on ![]()
The user can also highlight text by selecting the text and clicking on ![]() .
.
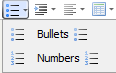
The user can insert bullets and numbers when selecting this button ![]() .
.
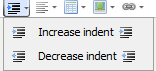
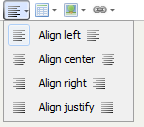
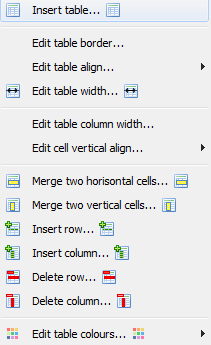
These options are available by clicking this Button ![]() .
.
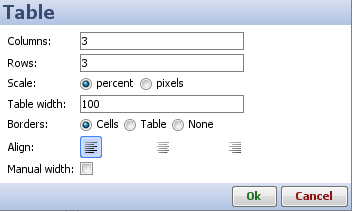
A pop up appears asking to configure the table: number of row/column/Scale/table width/ Borders
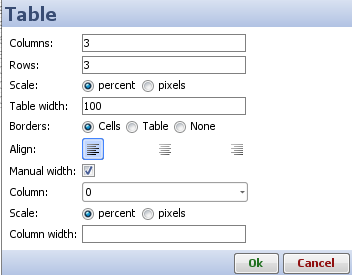
After a table has been created, the user can still modify its properties by selecting the table and pressing ![]() again, Options are:
again, Options are:
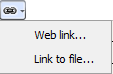
The user can enter an address (URL) to show a web based image:
All those options are available from Insert Image’s button

The user can link any web page or file into the annotation window
Links:
[1] http://kb.visokio.com/tab-titles-annotations
[2] http://kb.visokio.com/text-editor-menu
[3] http://kb.visokio.com/content-view
[4] http://kb.visokio.com/book/export/html/637#Edit Annotation
[5] http://kb.visokio.com/book/export/html/637#Web and File Link
[6] http://kb.visokio.com/book/export/html/637#Formula
[7] http://kb.visokio.com/book/export/html/637#Aggregate
[8] http://kb.visokio.com/book/export/html/637#Subset: Filtered data
[9] http://kb.visokio.com/book/export/html/637#Top
[10] http://kb.visokio.com/node/635